
Choosing The Right Bike (Part 2) 3 Key Measures You Have To Know Before You Buy!
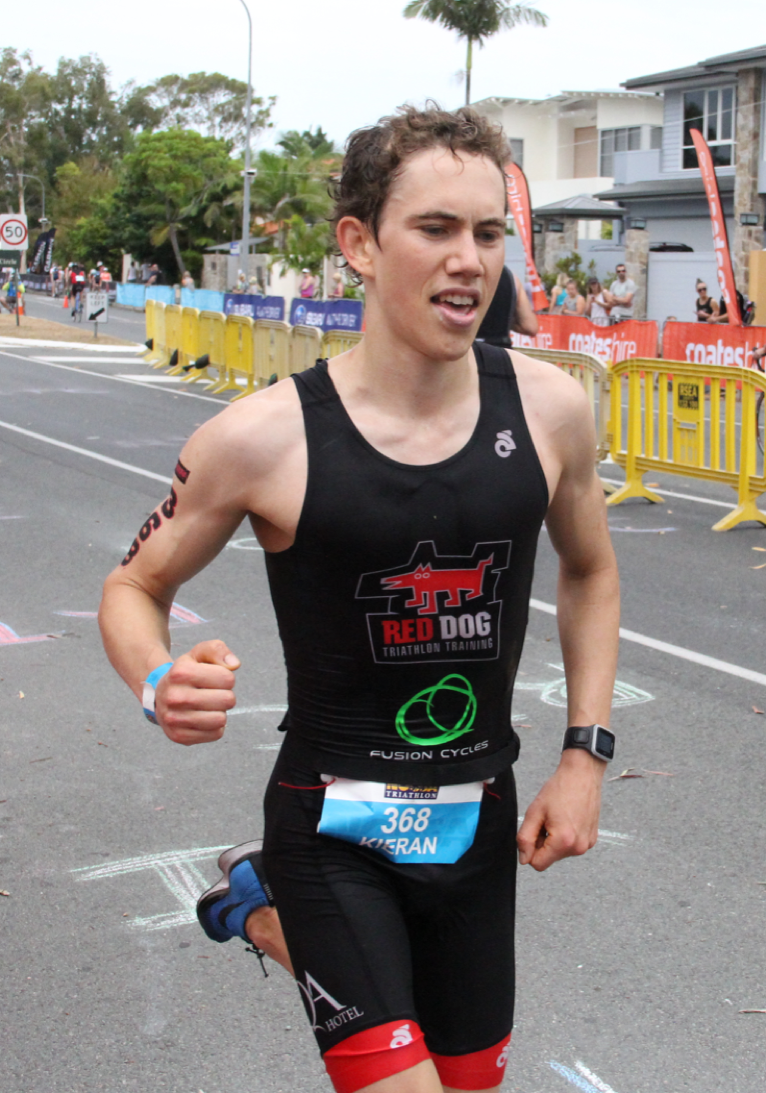
To this weeks content and it’s fitting that Kieran is going to take you through the technical side of how to choose the right bike part 2. A touch more involved than whispering in Santa’s ear!! Thing is if that’s what you want this Xmas, it’s probably time to get a bit technical. The measures he talks about, you can try to get right yourself or pop in and Kieran can get it exact. That way you can be sure you’re buying what you need without any expensive mistakes. Here’s Kieran:
Choosing your right bike (part 2)

Figure 1. All the bikes pictured are designed for the road, yet they’re all different styles with different frame geometries. (Left to right, top to bottom) ‘Gran fondo’/ endurance; standard road/ climbing; aero road; time trial/ triathlon.
Getting your perfect bike can be a complicated task. Your priority should always be how it fits you, so ‘man (person) and machine’ can work effectively together. Always keep this front-of-mind when you start to explore the vast array of brands, models and sizes. In road cycling, ‘Gran Fondo’ type road bikes are usually better suited to a more upright, comfortable and relaxed ride. Whereas an aero road bike or even more so a time trial bike, are often lower and faster, but require greater flexibility and muscular control to ride effectively. Traditional road/ climbing bikes often sit somewhere in the middle between ‘relaxed’ and ‘aggressive’ fits (refer to figure 1). There is often reasonable room for adjustment, but when it comes to time trial/ triathlon specific bikes this adjustment is often far less. Therefore, you need to know your own fit coordinates. This will ensure, that regardless of comparing between make, model or size, you’ll get the right bike for you.
In part 1,Choosing Your Right Bike, I explained the importance of knowing your bony leg length in order to ensure you’re able to get your correct seat height and crank length on a given bike. However, for a bike to fit properly, you need to know 3 other key measures from the bottom bracket (centre axis of pedaling). These coordinates can and should be applied to any potential bike, as the measures aren’t based on a particular brands frame design.
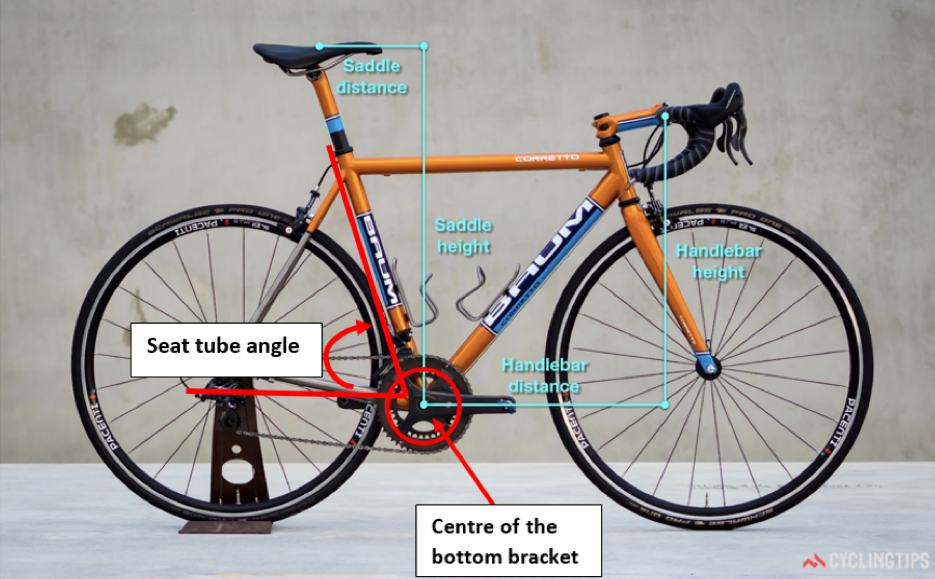
Figure 2 (Wikstrom, 2018): The 3 key measures using the bottom bracket as the constant starting point. 1. (saddle distance) Bottom bracket to sitting position. 2. (handlebar distance) Bottom bracket to handlebars. 3. (handlebar height) Vertical distance from the bottom bracket to the handlebars.
1. Bottom bracket to sitting position:
This is the horizontal distance from the centre of the bottom bracket to the 10cm width of the saddle (your logical sitting position based on the width of your pelvis). Getting this right is essential to ensure that your lower limb muscles are at their most effective muscle length. The predominant power-producing glute max (bottom) and quadriceps (thighs) muscles are at a physiological advantage when they are near their outer range i.e. they are on a mild stretch. With correct positioning, this is balanced with the need to maintain the correct cycling posture and ensure the knee joint is at a mechanical advantage. This occurs when the knee falls in line with the pedal at 3’oclock on the pedal stroke.
Practically, the angle of the seat tube has the overall greatest bearing on this, with slacker seat tube angles (e.g. <75 degrees) allowing more saddle set back (refer to figure 2). The saddle rails itself allow for finer fore-aft adjustment. However, finding enough saddle set back, is in our experience, a regular challenge with many modern time trial/ triathlon bikes.
2. Bottom bracket to handlebars:
Once again by using the bottom bracket as the measurement starting point, this measure calculates the distance forward to the handlebars. It relates to your ideal frame ‘top-tube’ length. A longer measure equates to a more ‘stretched-out’ position on the bike and a shorter measure usually means a more comfortable, easier reach to the handlebars.
3. Vertical distance from the bottom bracket to the handlebars:
To find this measure it is best to work backwards. First, have your seat at the correct height and in the ideal forward and back position. Then based on your flexibility, injury history, and riding preference, work out your ideal saddle to handlebar drop. This is the vertical distance from the top of the saddle (usually) down to the handlebars. Once this is in place, you’re seat, handlebars and peddles, i.e. all your contact points, are in the correct location. To make choosing a bike easier, it is useful to measure the vertical distance from the centre of the bottom bracket to the top of the handlebars (refer to figure 2). This makes comparing bike types and sizes easier than using a measure based off a variable saddle position.
In summary, follow these steps. Know your bony leg length (part 1), so you can work out your ideal seat height and crank arm length. Then find your ideal contact point coordinates. These are based on 3 measures from the bottom bracket: backward, forward and up.
As stressed in the beginning, finding your ideal bike can often be a complicated process. However, by following a step-by-step process it can be simplified, so you don’t have to sell and start again. Just get it right, lock in your correct fit so you can concentrate on training and achieving your cycling goals.
Key reference:
1. Wikstrom M. (2018, January 29) Beyond the top tube: things to know when sizing up a road frame. Retrieved from: https://cyclingtips.com/2018/01/beyond-the-top-tube-things-to-know-when-sizing-up-a-road-frame/
Thanks Kieran! He truly is the Bike Fit Guru. Great Xmas idea for the person that is hard to buy for. Just call us and we can organise a gift voucher.
Next week Anna is getting nitty-gritty with how to find your trigger points so look out for it. It will be one to save and share with your friends. Signing off this week with a thank you to new patient Paul from Stone and Wood. He brought tasters. Gotta love that!! Paul’s are always good people!
Keep the questions coming to me or [email protected]. Will talk next week!!
Paul Trevethan
PHYSIO
PS: Appreciate if you would help spread the word so we can ease a bit of pain, one human at a time.
“Get Pain Free While Being Taught How To Help Yourself For Life”
To book an appointment contact us at [email protected] or 07 3847 8040
- Posted by: